Showing posts with label Fields and frames. Show all posts

Sunday, 3 May 2015

Southbank Exhibition and Tate Modern

Here are some of the artists and there art work which I saw in the tate modern and a Southbank exhibition.


John hilliard - cause if death 


Gavin turk - garbage bag 


Hayley newman - stealth 


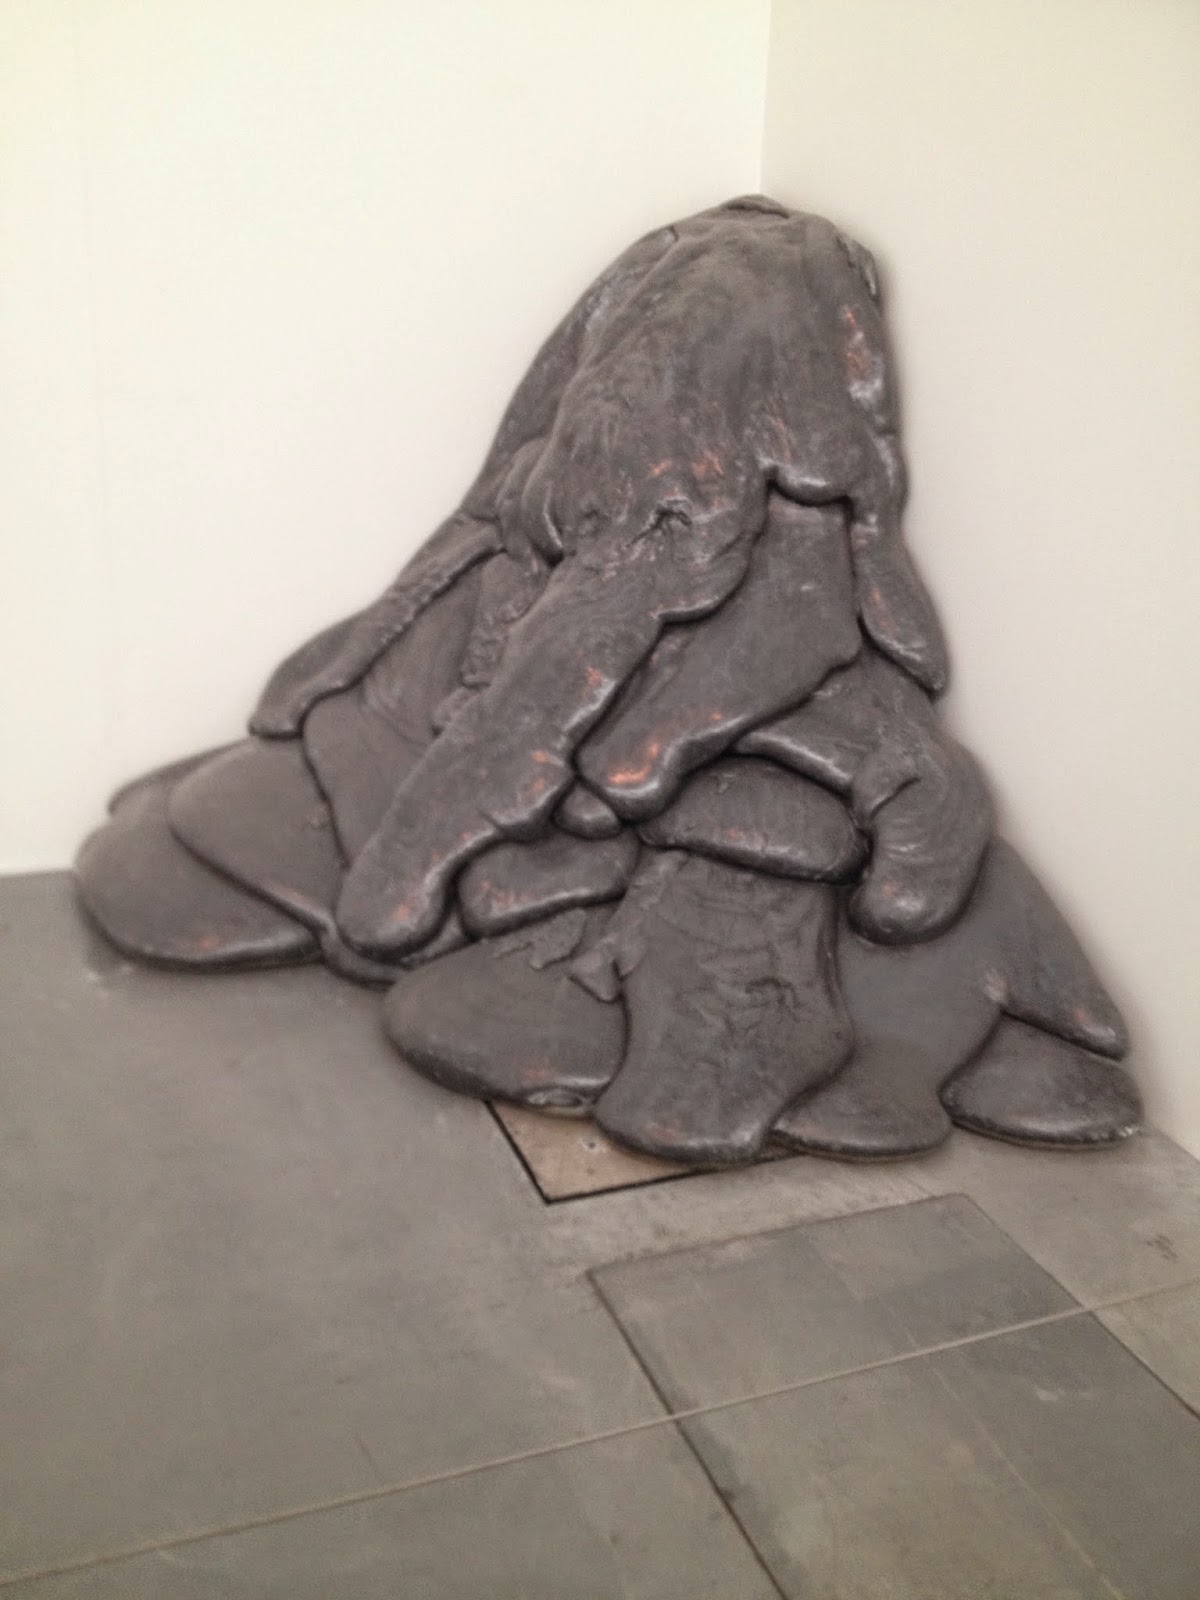
Henry moore - maquette for atom piece 


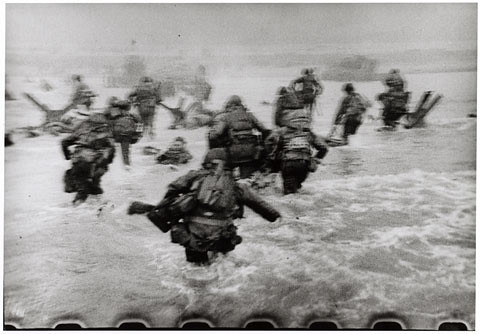
Robert capa - americans landing on omaha beach, D-day, normandy, france


Friday, 1 May 2015

The Installation + Evaluation

Finally the day of assessment was upon me, and the preparation had to be done, so I got the equipment I needed, projector and plinths, and organised sharing a room with Julia and Josh as we needed the room for our projects. 
So the day before, we gathered are projects and started to set them up in the room, first off it was trying to find the placement of all our projects and trying to find the best way to lay it out.


 We finally found our places in the room and set up, so now I had to position the projection so it was focused on the sculptures and not the wall and keep them in frame.


Over night I tried to convert my laptop, with the help of my dad, so it could run Windows for me to use a program, However we struggled to do that and had to look for another program which I then had to learn over night, which wasn't the best idea, but I tried my best.


So the morning of assessment I came in early to set up and make sure everything was alright and started to use this new program. It seemed easy enough until the textures I made were too big and not showing the whole image.


So I had the idea to go back and re-size all of the texture images to see if that would change the apperance... Sadly it did not. 


After much faffing around with no success I accepted the fact that this was the best I was going to get. 


The final look of the projections.


The final look of the textures mapped around the shape of the sculptures.


During assessment. Damn sun!


Wednesday, 29 April 2015

Fields and Frames - Evaluation

When making the textures, I sturggled with making them 3D but then wondered if it would matter seeing as they would be projected onto something and possibly be distorted. Of course I made the texture but wasn't sure if I would be able to animate them in such intricate detail to what I had in my head, instead I would keep in simple with simple frame animations, however due to time issues and fears of trying a new programme I did not animate them.
In making the sculptures everything was perfect until it started to reach the end. When finishing the sculptures I struggled to get the look of them just right, I tried to layerthe newspaper, as to get rid of the chicken wire outline, however that didn't work. So I experimented with some toilet paper to see if it would buffer out the outine, then put newpaper on top to seel it in, but that did not work either. I gave up on layering it and hoped that what ever I did, it would buffer out eventually. The final finish to the sculptures was a thin layer of toilet paper to cover up the text and colours of the newspaper, as the paint did not cover it up all that well and did not react to the surface of dried glue. After glueing the toilet paper down gently I let it dry before painting so that it had stuck properly and then painted over it which worked a lot better. Sadly they didn't come oout perfect but they are a lot better then what could have been. I actually like the texture the toilet paper has given, sadly I ran out of paint and could not get more in time, as I think they needed either 1 or 2 more layers to completely cover up the newpaper font. Next time I need to look more into sculpting as I now have the basics down. Or maybe try a easier material to work with.
When it came to arranging the instalment, I could have been a little more prepared, luckily with the help of julia, we arranged to share a room at uni to show our work in and she helped with finding me some plinths for my sculptures and recommended someone to help set up the projector. It all seemed very last minute but I managed to do it. 
As a bonus to the original idea, I was going to add a sound piece for it to give it more of an atmosphere, but due to time and forgetting that that was a part of the project so far in, it never got done. 
Overall, the project came out how I wanted too, I made the sculptures and got my hands dirty doing it. I made the textures to be projected onto it and I enjoyed the overall experience of making this project. But sadly due to badly timed personal reasons I couldn't give it my all like I hoped. Also again with better time managment and more motivation to get up and do my work, I think it could of come out even better then it already is. But even then I am still proud of what I have made and have learnt a lot from it.

Tuesday, 28 April 2015

Projections

Of course, to make the projections I had to learn how to make them, so a bit of research on Lynda.com to see if there were any tutorials on it, sadly there wasn't. So doing a general search on Google gave better results, with Youtube tutorials that guided me to a software that does projection mapping, which is what I need.


So after boot camping my laptop to run windows to then be able to run Facade Signage. After looking at more tutorials on Facade Signage, it looks very easy to use. 

Now I have that part sorted, now it's time to work on the textures.


Making of Sculptures

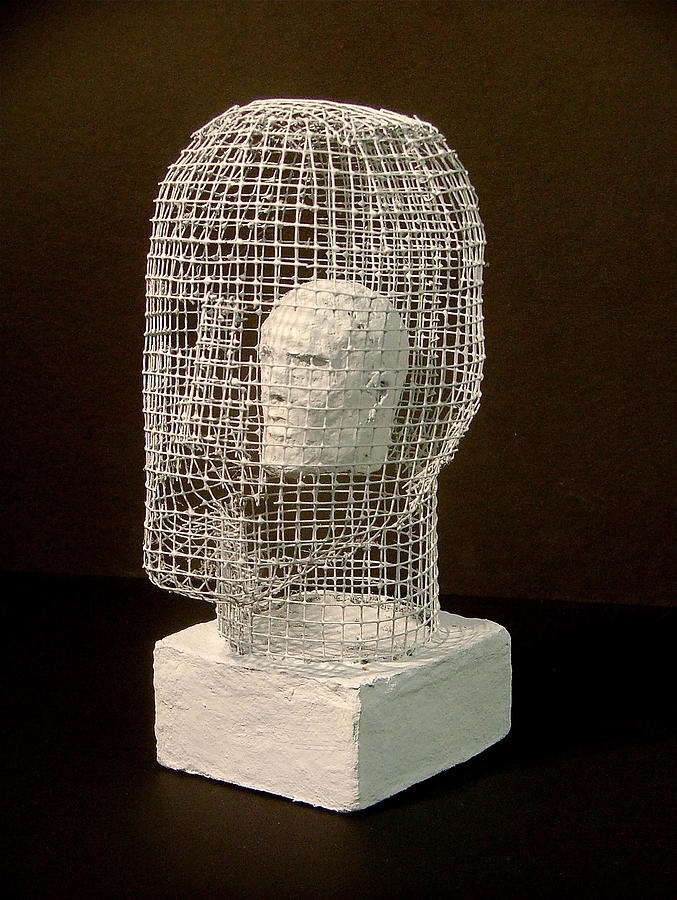
Here is the process I took to make my four paper mache busts.

Sunday, 29 March 2015

Finalized Message and Idea

This project will consist of the use of projectors to imitate 4 main Natural disasters, and include 4 handmade human sculptures (Busts) to project onto. 
The point of this project is to show the constant battle of survival between the two forces, Earth and Humans. But I'm questioning if there even is a battle, from newspaper headlines we are told that Us (humans) are "killing" the Earth - climate change, pollution, carbon footprint, ect - Yet from what I've seen, the Earth is fighting back and we are unintentionally making it stronger. 
From visible evidence the Earth is not dying, it's a planet, it will continue on without us whether we like it or not and I am using this layout/project to show fight between the two  with the impact of natural disasters on humanity.


Lists and Layout

Layout of the installation:


What I need to get for making the sculptures:

  • Chicken wire
  • Wire cutters
  • Newspaper
  • Paper towels
  • Flour or glue
  • Paint brushes 
  • White paint

For final presentation:

  • 4 podiums
  • 4 busts
  • 1 projector
  • 1 Laptop 
  • Speakers

Tuesday, 17 March 2015

Research into Sculpting

To start off with I was thinking about making one full sized bust to do tests on so I know how to improve the sculpture as well as testing the projections, seeing how they look on the sculpture and see if adjustments are needed such as the projection is too distorted or it bleeds over the outline. 

So to begin with I have to think about what I need to use for the structure of the bust and from discussing with my auntie, who knows a bit when it comes to arts and crafts, she said that chicken wire would be the best as a base structure and then paper mache because it's cheap and easy. 

After a bit of looking around on the internet I found cardboard could be used a base structure however because the paper mache is wet it will dampen the cardboard and it would be difficult to make a head shape with cardboard. 

So instead I ordered chicken wire on Amazon to practice the first bust. 


Paper mache

Then I looked up how to make paper mache and I found a few different ways to make it. There is the option to use glue and water it down a bit, or a cheaper way to use flour and water. I'm going to try both and see which is better quality.


This website is very useful as it has multiple recipes for paper mache as well as tips for when building a sculpture which I'll take into account.

Sculpting tips:


  • After using newspaper for the initial shape I can use softer paper, like tissue paper, to smooth it out
  • Rougher paper, like paper towels give it a bit of texture to the final coat
  • Also with painting the busts she recommended any kind of paint, of course I'm going for white and textured look so nothing difficult there 
  • She says to make Gesso to seal in the paper mache and ready the sculpture for painting however I'm not going to use this tip


Thursday, 5 March 2015

Main Idea in a bit more depth


  • Installation piece about natural disasters and the impact it can have on humanity
  • it will include 4 or 5 busts (chest and head)
  • they’ll be very basic as they’ll be representing humanity
  • on each bust will be a projection of each disaster (so one will have lava and another with have cracking earth, etc) (moving and looping)
  • and sound wise I was thinking of having bassy earth noises with the odd crack or boiling sound to represent the sounds of the different disasters (www.vimeo.com/80266870)
  • I need to look into different materials for creating the busts, (whether i can buy them pre made or if i have to make them from scratch (either way I don’t mind getting my hands dirty and because of the simplicity of the busts it will reduce the difficulty of the sculpting them))
  • the projections will be made in after effects (for obvious reasons of not being able to go too disaster ridden locations (need to choose what disasters to replicate and then contact simon or reference Lynda to figure out how to create the effects)
  • inspiration (www.danielwurtzel.com)
  • I have a back up plan just incase the sculptures back fire (double exposure)

Friday, 27 February 2015

General Research

-Histories of plants, animals and human representation
-Land art, ecological art and other kinds of expression in which living things are integral (60's movement):
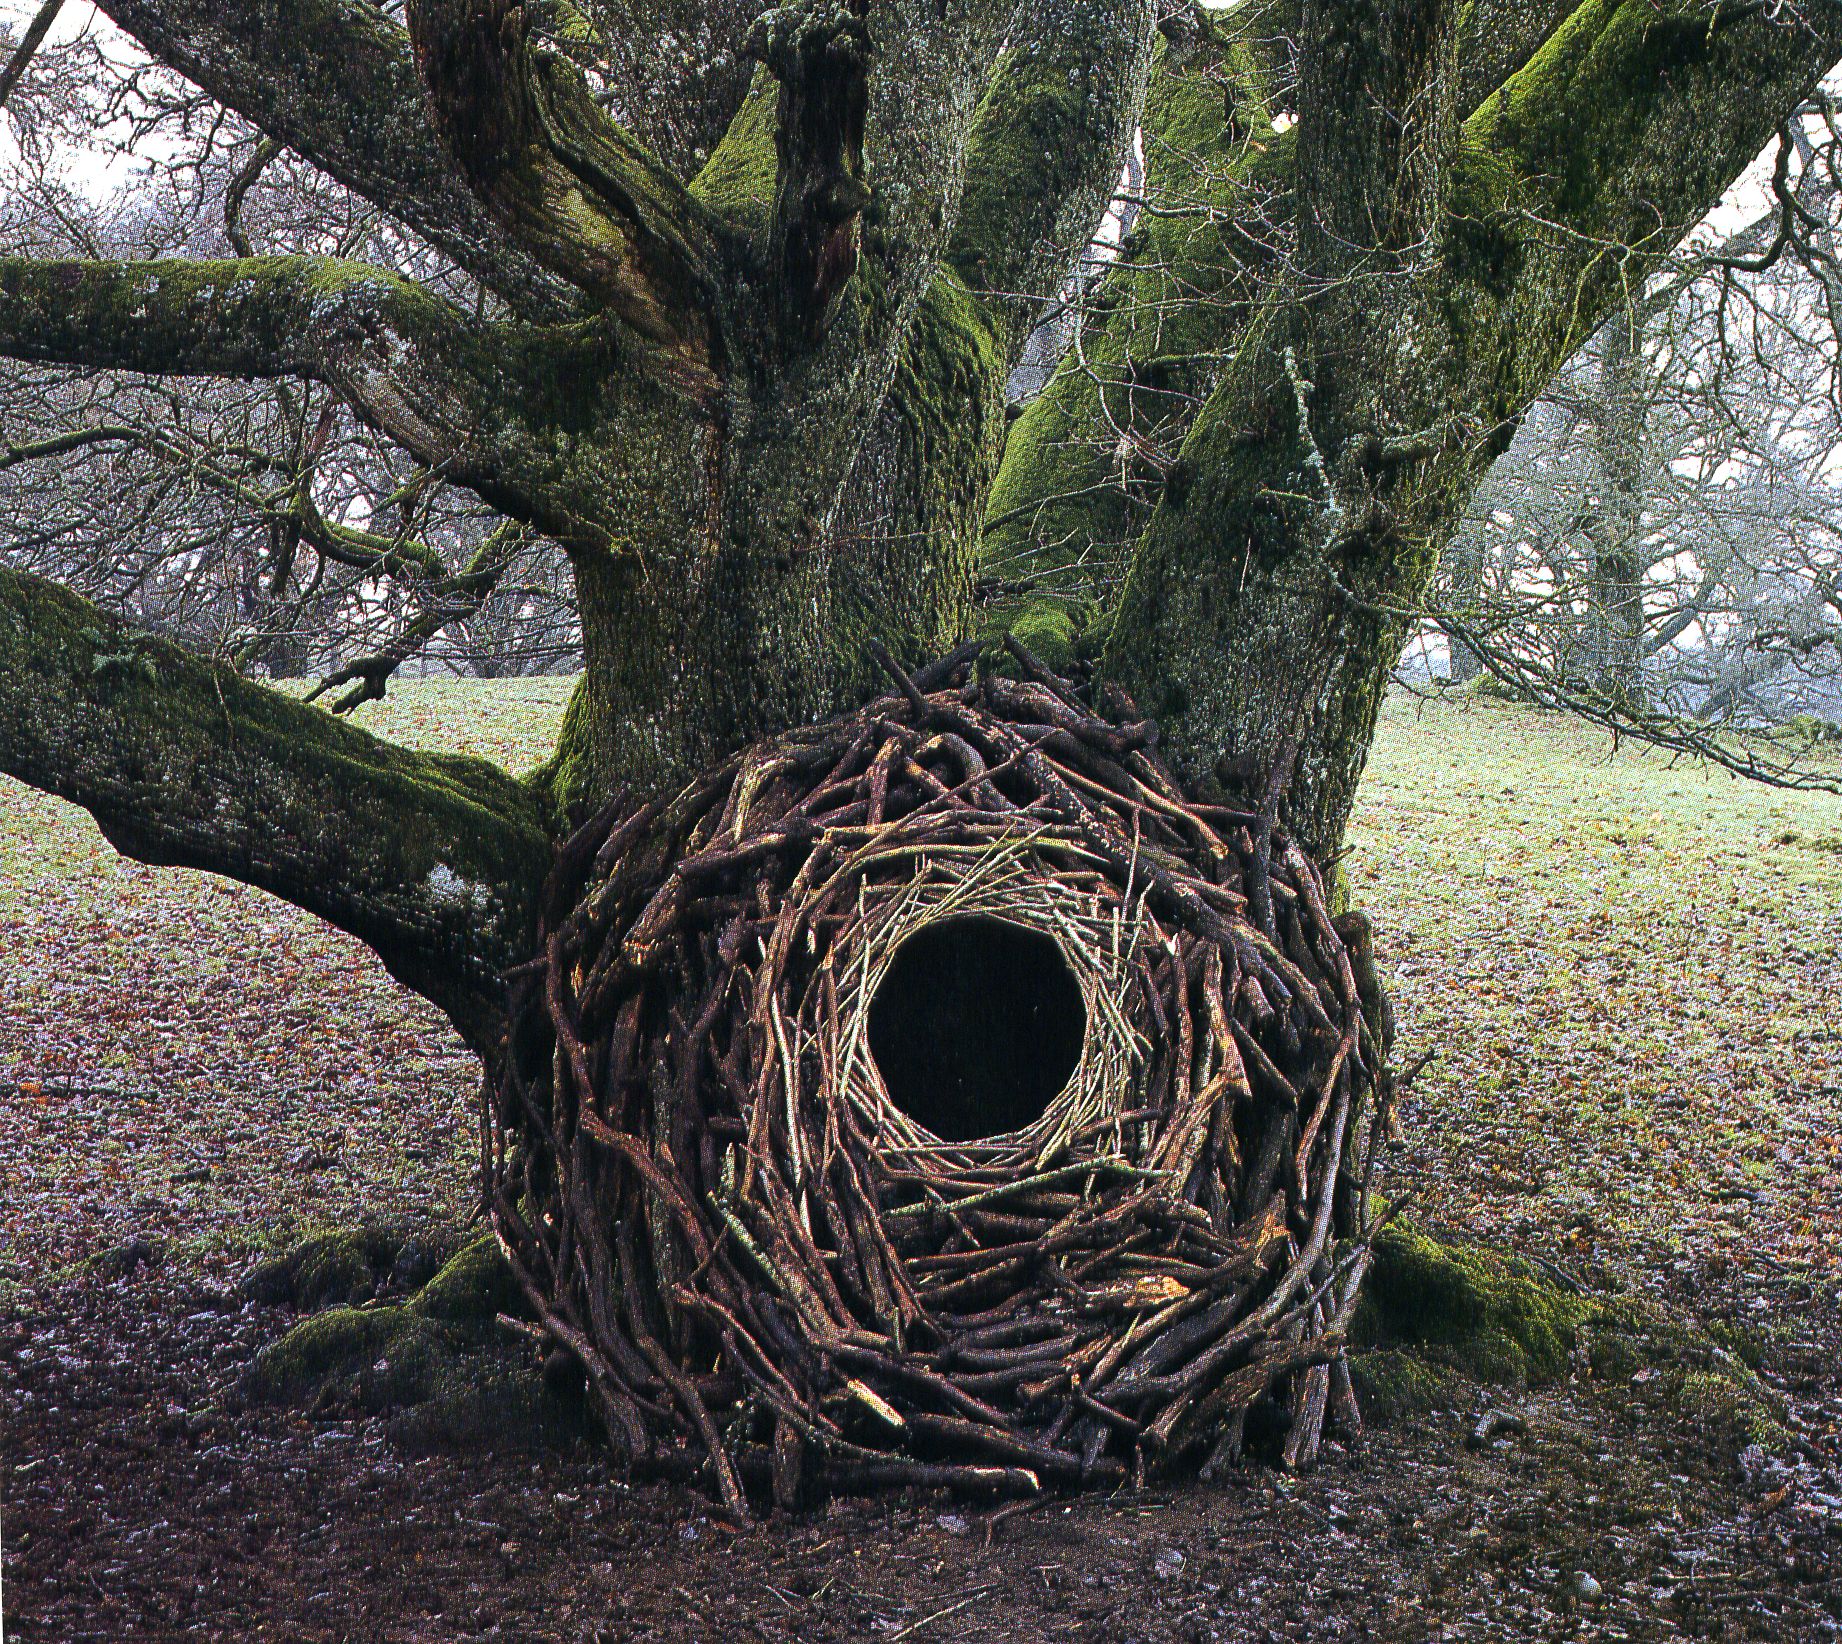
Andy Goldsworthy


Robert Smithson


Richard Long


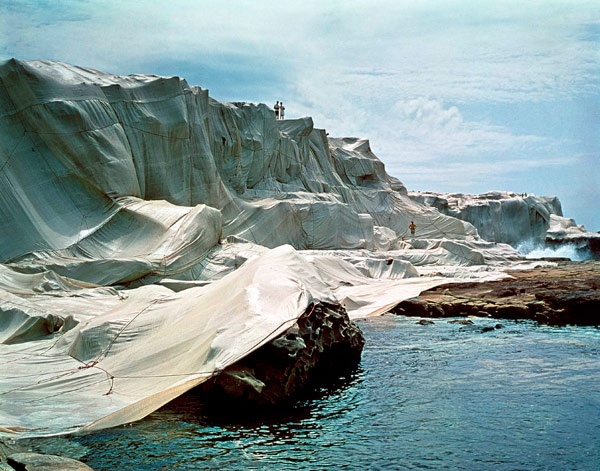
Christo


- Art about disease:
Luke Jerram


Ariana Page Russell


- Imagery of DNA, cells, chromosomes and proteins:

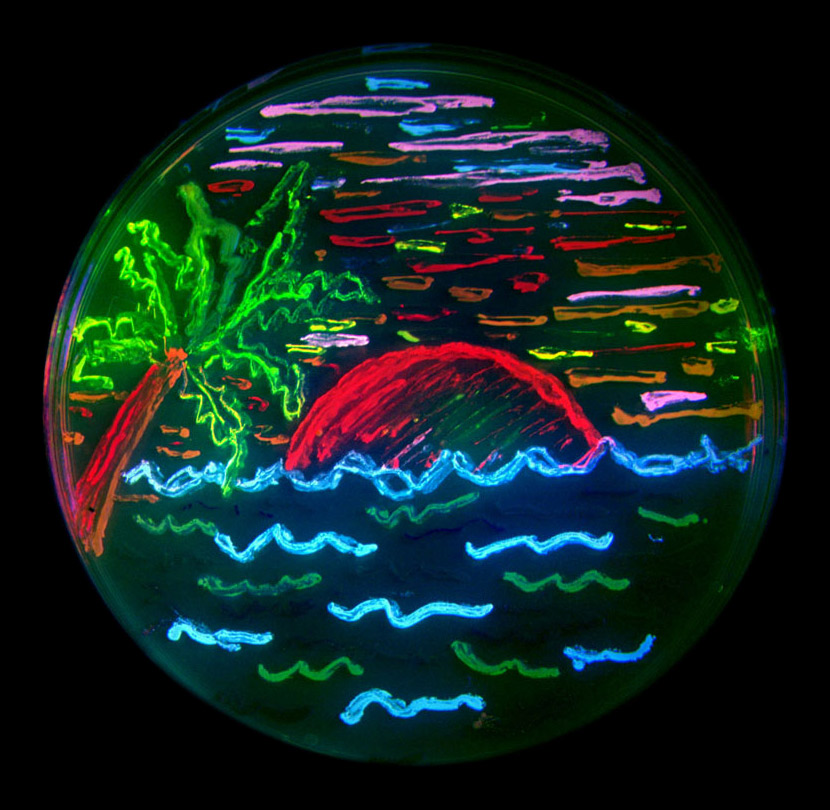
Green Fluorescent Protein


DNA


Chromosomes


Cells