Showing posts with label Installation. Show all posts

Thursday, 18 February 2016

More Animal Research


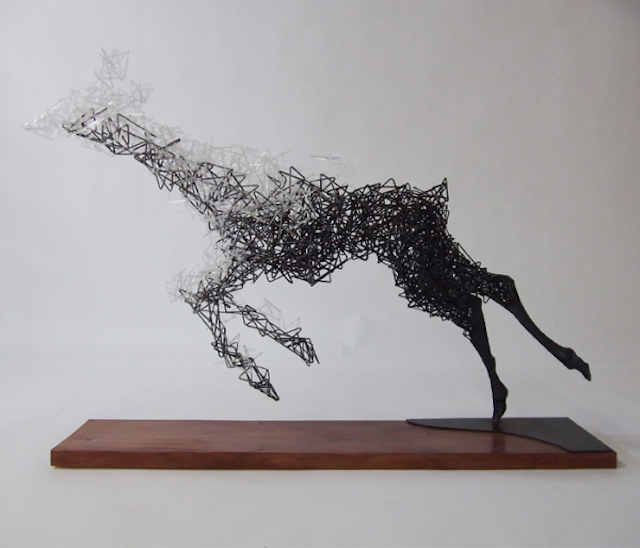
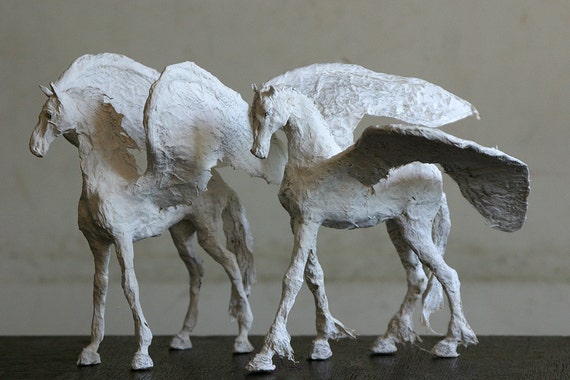
My tutors keep asking why I used animals to portray the emotions, and how other people may think otherwise to my decisions. However, I thought about it and released that people relate to animals via spirit animals.


So I looked at a website so spirit animals and searched for the animals I'll be sculpting and this is what I found.

If Bear is your Animal Totem:

You have a great deal of patience in manifesting your ideas and projects waiting for just the right moment to spring them on the universe.. You have a great deal of confidence in who you are and where you are going in life. You are looked upon as an authority figure. You are nurturing and protect your children well.

Additional Associations for Bear….

Introspection
Subconscious/Unconscious mind
Strength
Grounding
Inner energy of soul to find answers
Judgments, are you too critical or not critical enough
Inner power to taste the honey of life
Peace
Nurturing and Protection
Resurrection
Confidence and Authority
Powerful
Patience and Connection
Benevolence
Aggressiveness
Sovereignty
Motherhood
Duality


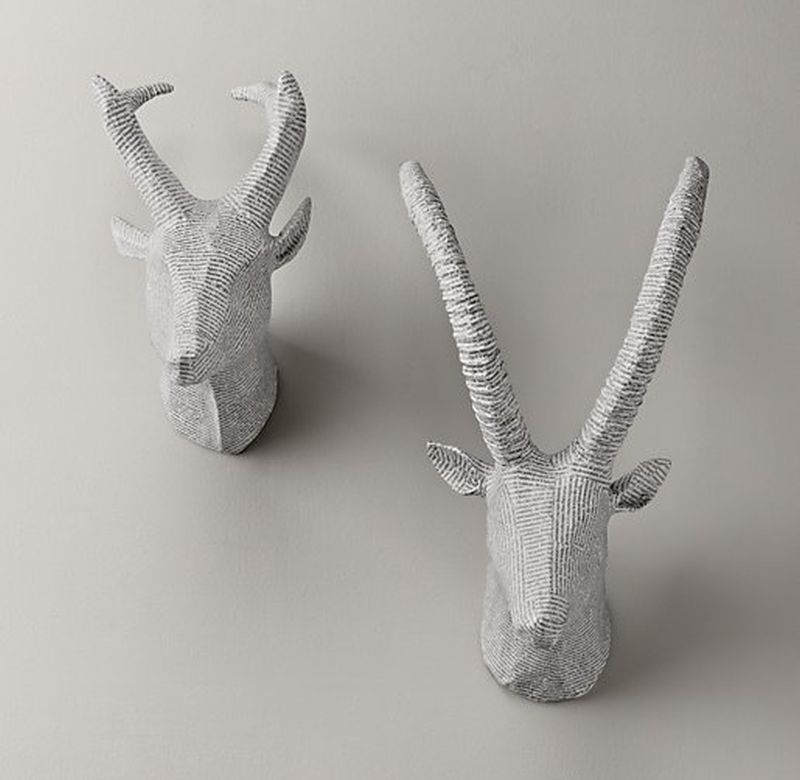
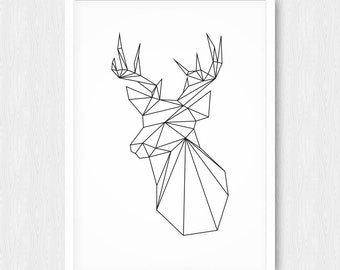
If Deer is your Animal Totem:

You have the knowledge of how to use the power of gentleness to touch the hearts and minds of the wounded beings in your life. You have a propensity to see new innocence and freshness in life everywhere and you constantly feel the lure of new adventures. Often you have a link to the arts, especially poetry and music.

You are also a keen observer, able to see well in low light. You are also a very compassionate, gentle and loving person.

Additional Associations for Deer…

Gentleness
Love
Alertness
Camouflage
Attention to subtler outside influences
Connections to children and people for best interests of all
Vision
Hearing
Smell
Helps discern what actions to be done
Grace
Peace
Beauty
Fertility
Humility
Swiftness
Regrowth
Creativity
Spirituality
Abundance
Benevolence
Watchfulness


I am also using animals to give depression and anxiety as a physical form in hoping that people believe they are real.

Sunday, 7 February 2016

Sculpting

In this post will be the journey of me testing out ways to make my Adfectus sculptures and the process of making them from start to finish. 

To start this project was an absolute bitch! I struggled so much trying to find the right wire to make these sculptures with. I tried everywhere you could buy wire from and no luck until I came across a B&Q with the exact wire that I needed, not too thin and pretty sturdy too. PERFECT! So to start with I needed to create the frame for the back legs, so I measured out some wire and prepared my hot glue gun for some sticking. 


All was looking well until I started to paper mache the frame. The paper mache went on fine but after letting it dry I would find the wire frames bending from the dry paper mache.


So obviously that wasn't going to work so I looked around for some other ways to give these animals some skin. Not long after I found that tissue paper is a good way to fill in the gaps and it comes already coloured in the colours I need. BONUS! So I start cutting out pieces of the tissue paper and apply it each side at a time. 


Until I have the whole limb wrapped in the tissue paper. 


After some more sticking and burning myself I have managed to create both back legs, front legs and bear bum. The only issue now is trying to create the arch of the back without it falling over, bending or falling apart. 


 As you can see in the not so clear images above is that I have started to create what will be the main body of the bear, whilst using other pieces of the sculpture to prop up certain wires to stop the whole thing from tipping. 

Measurements

Here are the measurements for the current projects I am doing for 3rd year, one of the reasons I have these measurements is the fact that for the Grad show I need space to install these installations so knowing how much room these will take up is very important. It also has other helpful factors, like if one sculpture broke I know what size to make it again. 


Earth vs Humans Busts: 
H - 26”
W - shoulders 17”
    - base 12”
L - 6-7”

Plinths:
H - 36”
L - 13-13.5”
W - 13-13.5”

Room Needed:
W - 100” (2.60m)
10ft-12ft between projector and busts
11-12” between busts

55” from the back wall

Adfectus: 

Bear:
H = 30"
L = TBA
W = 19.5"

Stag:
H = TBA
L = TBA
W = TBA

Beast:
H = TBA
L = TBA
W = TBA

Friday, 5 February 2016

New New Treatment

That's right it's changed again!

Due to starting work on the bear sculpture, I realised that I wouldn't have enough time or money to make all seven sculptures in time for deadline.

So instead, I thought the best thing to do is to create the two main sculptures, the Bear and the Stag, as originally discussed. However, I will be exchanging the rest of the sculptures to make the Beast, as I can make the Beast very large and can focus all my time onto them three instead of rushing seven of them.

Also, an issue has been brought up due to the size of both of my projects, I currently have my 4 busts bundled in the corner of the room but I have half a bear taking up the main space of my bedroom. Sadly, I am struggling to find space for these projects, I have even tried storing them at uni, however, our classroom is shared and I don't want to leave them out to be damaged or take up other peoples work space. I was given the advice to make my current sculptures compactable/transportable, but due to the technique I'm using to put the sculptures together kind of makes it impossible, also I don't have time to test out ways to make it possible due to deadlines are just around the corner.

Wednesday, 3 February 2016

New Display Layout

Now that I'm doing just 3 sculptures now I can display in a organised fashion. Whilst in a discussion with my tutor we tried to figure out how to display them in the best way. And one of the ideas that we had was to put them on a platform to make it a stage and change the view of the sculptures, as if they were just placed on the ground they would look part of the room, just plain sculptures. However, if I place them on a platform, it makes it as if they were on a stage and then the sculptures then become a performance in a way and doesn't blend in with the room.

The one issue we had was that if I put them all one platform, they will all be individual heights and to reach the shorter sculptures you'd need to bend down quite low, and if I heighten the platform the Beast would be too big to fit a normal sized room. So I come up with idea of putting each sculpture on it's own pedestal at specific height so they all come up to around the same height.


This means that all sculptures are around average height, and then hopefully all sounds will be coming from all the sculptures head/chest area. Also with the platforms being separate pieces, when it comes to the grad show it is possible to alter the positioning with ease and you can fit this piece into the corner. However, my tutor mentioned to me that these sculptures don't really have a back or front them as they 3D models, so she wondered if it was possible to have space behind the piece for viewers to walk around the piece itself. 

As for lighting, I wanted to place lights inside the sculptures, however, doing that would make them a lot like a lantern from Ikea. So, I came with the idea to place lights underneath the sculptures, placing 3 LED lights directly underneath, as doing that will still light them up, and then place 3 roughly in the same area but in front of them so it creates shadow of each sculpture. This will hopefully create a creepy yet enticing atmosphere that will hopefully draw in audience. 

Monday, 23 November 2015

Earth vs Humans Treatment


Earth vs Humans is an installation piece about natural disasters and the impact it has on humanity using four basic human busts, sculptured by hand using chicken wire and paper- mache. On each bust will be a projection of each natural disaster, volcano, earthquake, tsunami, and hurricane which will be made to animate slightly as if the images were a video of the real thing, by using Photoshop to create these images and animate them. As well using sound to accompany the projection to bring the reality of these events by using Adobe Audition/Pro Tools to create the bassy earth noises with the odd crack or bubbling sound effect to represent the sounds of the each disaster. I wish to improve on this project as last year’s piece did not consist of a sound piece and the projections did not move due to lack of time and poor organization.

Due to their basic human and genderless features the piece lets the audience imprint themselves on the art making it approachable to anyone. 

Friday, 13 November 2015

Installation Layout

For my installation I will be needing a large room so I am able to place each sculpture inside room with enough distance, so when you stand close to each sculpture you can clearly hear what the speaker is saying with out the others interrupting or distorting it sound piece. Each sculpture will be around knee-high, so possible 30 to 35 inches and around 40 inches long and of course the lights will be turned off so each LED light in each sculpture will be visible. Preferably I would like the LED lights to pulsate, however I don't think that will be possible. The layout the sculptures will not be planned as I would like to lay some around the room at random, not in a line circle or square.


After a disccussion about the grad show and all the rooms that are availlable and all the projects that will be happening in those rooms, I will not be able to fit all of my sculptures in one room without disturbing other peoples work. My tutor gave the idea to dot the sculptures around the route of our grad show so it leads people from room to room also if done right it could give the imagine they are travelling with the audience or following them. 

Sculpting

For making the sculptures I'll be using different materials such as I will be using thick, study flexible wire instead of using chicken wire, as my sculptures will be more right angled and will need straight edges, this also means that the sculptures will not have a weird wire texture to them. Then I will need wire cutters which I already have for cutting the wiring to the right sizes. I found a wire sculptutor and emailed her for some advice on what wire I should use. I have tried to research what wire to use but no one has has documented on what wire they have used. I have thought about Floristry wire but I would need to see the gauge sizes before buying so the wire isn't too thick or too thin.


Of course after that I will be needing a white matt paint to put over the to cover over the newspaper so I can then go over with another matt colour, however I'm not sure about the matt colour and how to get the colour that I want as tin paint is very expensive and the sample size will not be enough to cover each sculpture I am going to look into the possible route of using food colouring in white paint to create to create the desired colour. After looking to see how to colour the white matt paint that I use for painting sculptures it says not to use food colouring as it doesn't mix as well as you think it would, the best option is too buy dark acrylic paints and mix it in to the white.

Acrylic Paint

Gesso White paint

Then for the stocks themselves I will be needing seven little LED lights to place inside the sculptures and seven speakers that I'll be able to play the sound pieces with the LED lights all be battery-powered and hopefully not could not connected to an external plug and the same with the speakers I have found some very simple LED lights on Amazon, possibly pulsating ones, but I am struggling to find them and some decent battery powered speakers.

Battery Powered speakers

LED Lights

What I need to get for making the sculptures:
- Study/flexible wire
- Wire cutters
- Newspaper
- PVA glue
- Paint brushes
- Gesso White paint
- Matt Coloured Paint
For final presentation:
- 7 LED lights
- 7 Speakers

Estimated budget = £131.21


More Updated Budget


Mood board

Light Sculptures

I looked into light sculptures due to how much I enjoy them, to see if there were any animal/geomectric type light sculptures. Too my luck there was and take a lot of inspiration from them.


Animal sculptures


Paper mache animal sculptures


Geometric sculptures


Geometric animal sculptures


Origami sculptures


Thursday, 12 November 2015

Artist Studies

Using the characters, from the video game Entwined, to inspire the art direction of the animals. 


Along with the work of Ben Foster, Arran Gregory, and Paperwolf all of which have created geometric animal sculptures and Paperwolf which is a site where you can build your own DIY geomectric paper animal. And Bruce Nauman’s Raw Materials sound piece was inspiration for the speakers whispering words, re-enacting those emotions.


I love the simplicity of Ben's work, the simple design is detailed enough that you can tell what each animal is and the colour is very sutble due to the natural lighting and the shape of the sculptures.


Arran's work inspired me the most with how to plan the making part of my sculptures. As the desired shape in my sculptures are very geomectric I was unsure of how to shape the skeleton of my animals. Coming across Arran's frame work of the wolf gave me the idea to use straight wire to create the skeleton base. 


Paperwolf is a company rather than an artist however they have a similar idea/look to the animals that I wish to create for my own. Also with these sculptures created by Paperwolf being made by paper, I felt like this was a good inspiration/influence.


Without thinking about it, I realised that Bruce's piece Raw Materials that was shown in the Turbine Hall in the Tate Modern, has a similar feel to what my sound pieces will be like. The mumbling voices overlapping each other when you enter the room and as you draw closer to a speaker you can hear more clearly what is being said. 

Bruce Nauman