Showing posts with label development. Show all posts

Thursday, 18 February 2016

Mood Board

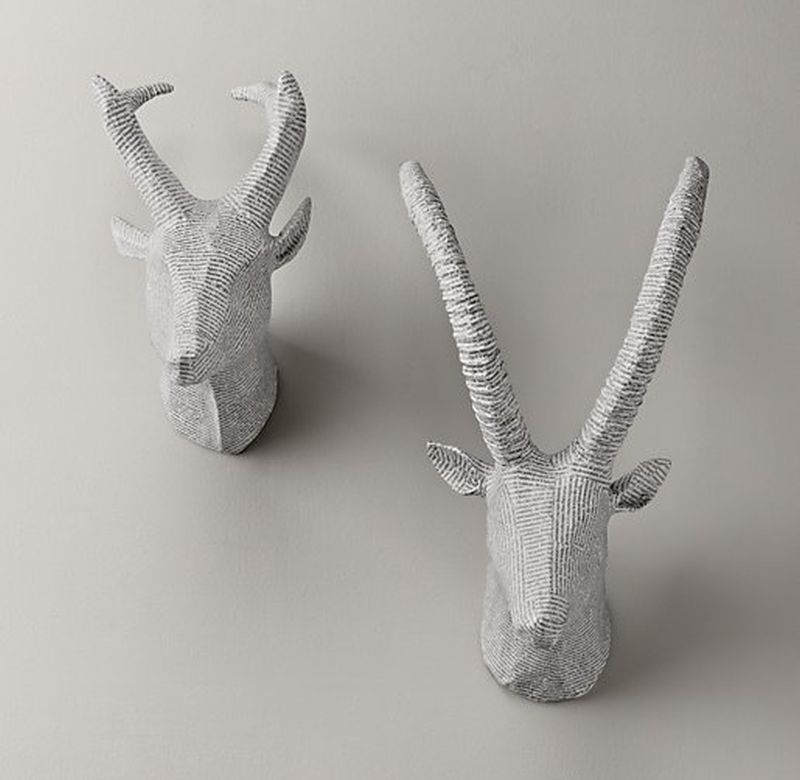
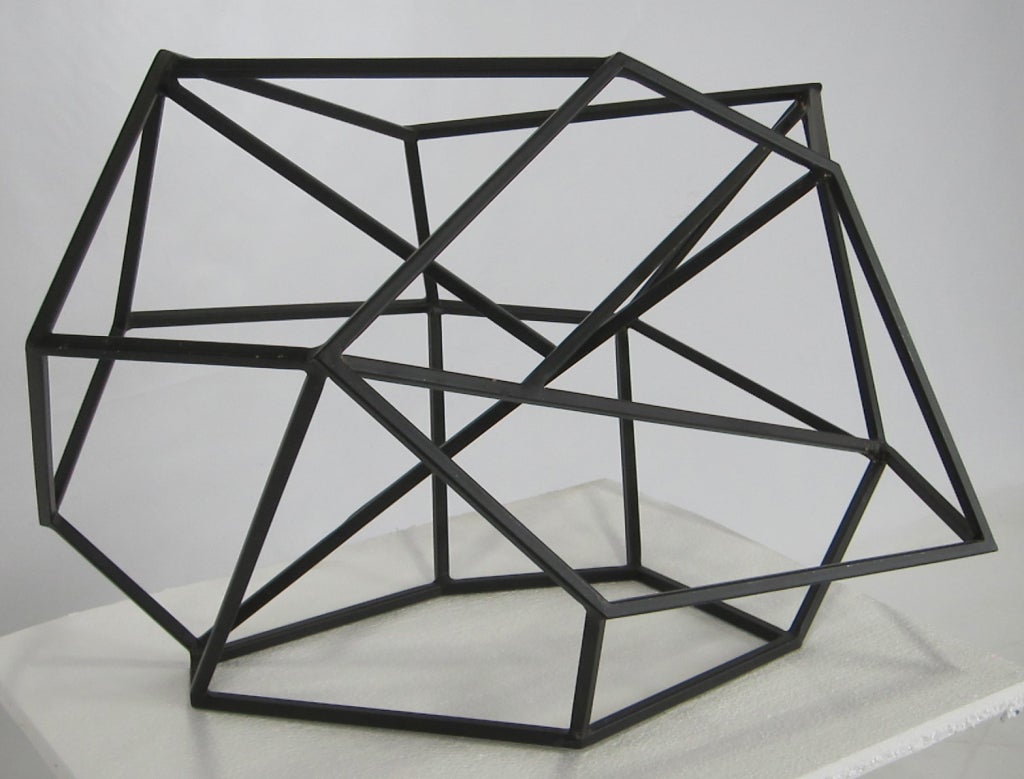
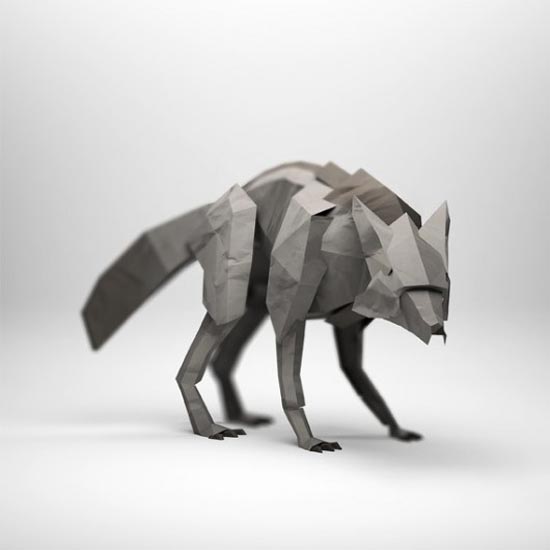
It's not really a mood "board" as it's more of a list, but this is basically a mood board for the overall look and atmosphere for the final look of my installation when it's been fully constructed and placed in the Grad show. 

I am looking to place lighting below the sculptures to give them a powerful appearance/stance, the platform they'll be standing on will also give them that boost in importance/intimidation. I am also hoping go give them an boost with the size and severity of them but giving them haunting shadows, as I believe shadows give them life, it shows that they are real.


Sunday, 7 February 2016

Sculpting

In this post will be the journey of me testing out ways to make my Adfectus sculptures and the process of making them from start to finish. 

To start this project was an absolute bitch! I struggled so much trying to find the right wire to make these sculptures with. I tried everywhere you could buy wire from and no luck until I came across a B&Q with the exact wire that I needed, not too thin and pretty sturdy too. PERFECT! So to start with I needed to create the frame for the back legs, so I measured out some wire and prepared my hot glue gun for some sticking. 


All was looking well until I started to paper mache the frame. The paper mache went on fine but after letting it dry I would find the wire frames bending from the dry paper mache.


So obviously that wasn't going to work so I looked around for some other ways to give these animals some skin. Not long after I found that tissue paper is a good way to fill in the gaps and it comes already coloured in the colours I need. BONUS! So I start cutting out pieces of the tissue paper and apply it each side at a time. 


Until I have the whole limb wrapped in the tissue paper. 


After some more sticking and burning myself I have managed to create both back legs, front legs and bear bum. The only issue now is trying to create the arch of the back without it falling over, bending or falling apart. 


 As you can see in the not so clear images above is that I have started to create what will be the main body of the bear, whilst using other pieces of the sculpture to prop up certain wires to stop the whole thing from tipping. 

Friday, 5 February 2016

New New Treatment

That's right it's changed again!

Due to starting work on the bear sculpture, I realised that I wouldn't have enough time or money to make all seven sculptures in time for deadline.

So instead, I thought the best thing to do is to create the two main sculptures, the Bear and the Stag, as originally discussed. However, I will be exchanging the rest of the sculptures to make the Beast, as I can make the Beast very large and can focus all my time onto them three instead of rushing seven of them.

Also, an issue has been brought up due to the size of both of my projects, I currently have my 4 busts bundled in the corner of the room but I have half a bear taking up the main space of my bedroom. Sadly, I am struggling to find space for these projects, I have even tried storing them at uni, however, our classroom is shared and I don't want to leave them out to be damaged or take up other peoples work space. I was given the advice to make my current sculptures compactable/transportable, but due to the technique I'm using to put the sculptures together kind of makes it impossible, also I don't have time to test out ways to make it possible due to deadlines are just around the corner.

Wednesday, 3 February 2016

New Display Layout

Now that I'm doing just 3 sculptures now I can display in a organised fashion. Whilst in a discussion with my tutor we tried to figure out how to display them in the best way. And one of the ideas that we had was to put them on a platform to make it a stage and change the view of the sculptures, as if they were just placed on the ground they would look part of the room, just plain sculptures. However, if I place them on a platform, it makes it as if they were on a stage and then the sculptures then become a performance in a way and doesn't blend in with the room.

The one issue we had was that if I put them all one platform, they will all be individual heights and to reach the shorter sculptures you'd need to bend down quite low, and if I heighten the platform the Beast would be too big to fit a normal sized room. So I come up with idea of putting each sculpture on it's own pedestal at specific height so they all come up to around the same height.


This means that all sculptures are around average height, and then hopefully all sounds will be coming from all the sculptures head/chest area. Also with the platforms being separate pieces, when it comes to the grad show it is possible to alter the positioning with ease and you can fit this piece into the corner. However, my tutor mentioned to me that these sculptures don't really have a back or front them as they 3D models, so she wondered if it was possible to have space behind the piece for viewers to walk around the piece itself. 

As for lighting, I wanted to place lights inside the sculptures, however, doing that would make them a lot like a lantern from Ikea. So, I came with the idea to place lights underneath the sculptures, placing 3 LED lights directly underneath, as doing that will still light them up, and then place 3 roughly in the same area but in front of them so it creates shadow of each sculpture. This will hopefully create a creepy yet enticing atmosphere that will hopefully draw in audience. 

Friday, 13 November 2015

Mood board

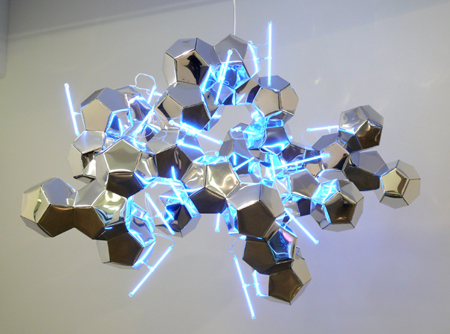
Light Sculptures

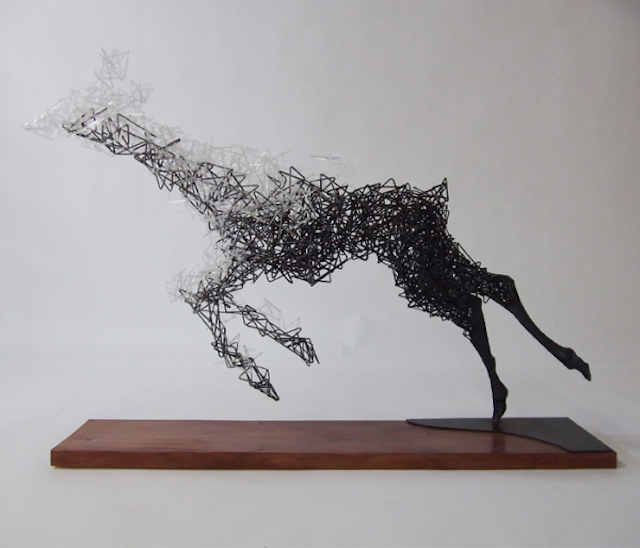
I looked into light sculptures due to how much I enjoy them, to see if there were any animal/geomectric type light sculptures. Too my luck there was and take a lot of inspiration from them.


Animal sculptures


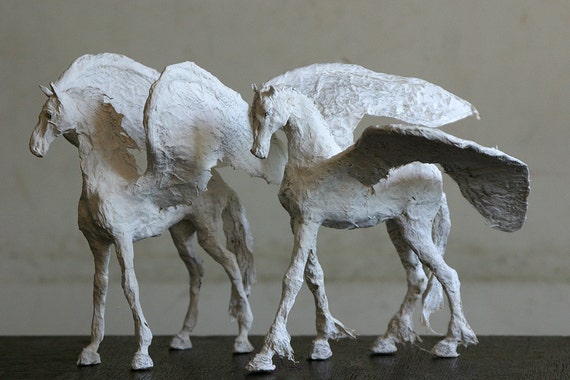
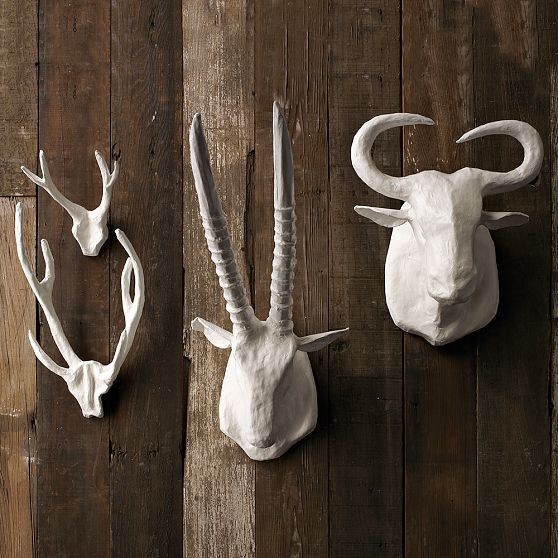
Paper mache animal sculptures


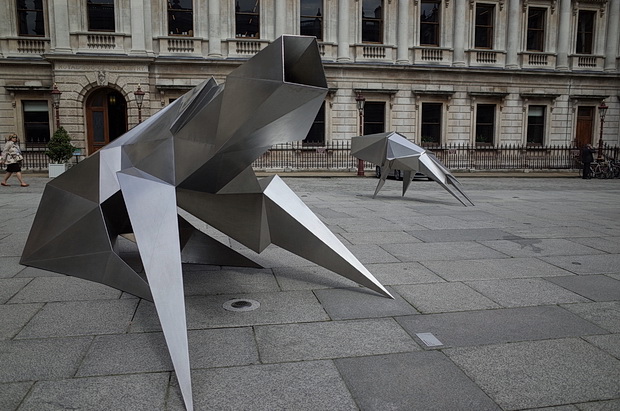
Geometric sculptures


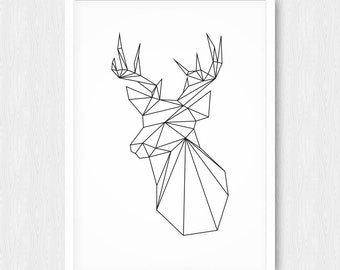
Geometric animal sculptures


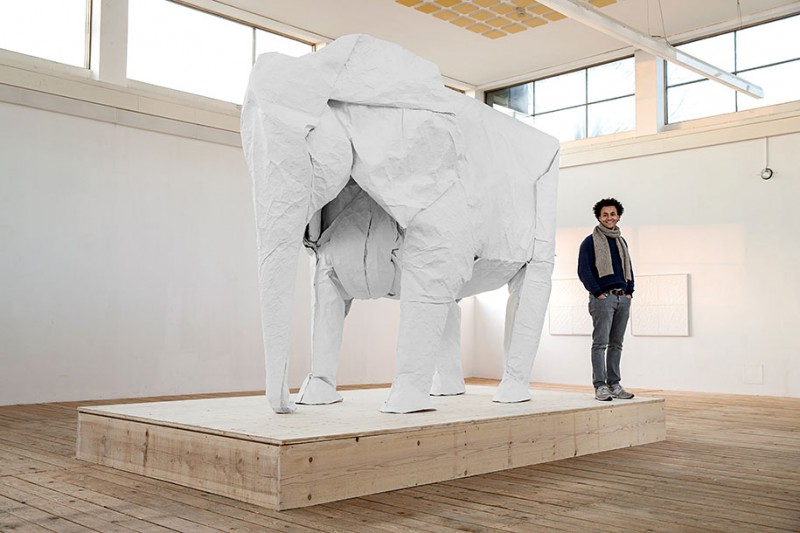
Origami sculptures